Getting Started
Autobot Library is a modular Arduino library designed to simplify mobile robot development. It abstracts complex kinematics for various drive configurations and provides built-in communication handlers for AI coprocessors such as Raspberry Pi and Jetson Nano.
Requirements
Arduino (Basic Control)
Hardware and software required for basic robot movement without AI features.
Hardware
| Component | Recommendation |
|---|---|
| Microcontroller | ESP32 Development Board (recommended for HardwareSerial support) |
| Motor Driver | PWM-compatible driver (e.g., L298N, TB6612FNG) |
| Motors | 2 or 4 DC motors, depending on drive type |
| Power Supply | 2S or 3S Li-ion battery suitable for your motors |
Software
- Arduino IDE — latest version recommended.
ArduinoRobot.h— the core library header. Must be placed in your project folder.
Arduino + Raspberry Pi (AI & Vision)
Additional requirements for enabling Human Tracking and Line Tracking features.
Hardware
| Component | Recommendation |
|---|---|
| Single-Board Computer | Raspberry Pi 4 or 5 (recommended for YOLOv8 performance) |
| Camera | USB Webcam or Raspberry Pi Camera Module |
| Connection | 3× jumper wires for UART (RX, TX, GND) |
Raspberry Pi Image Setup
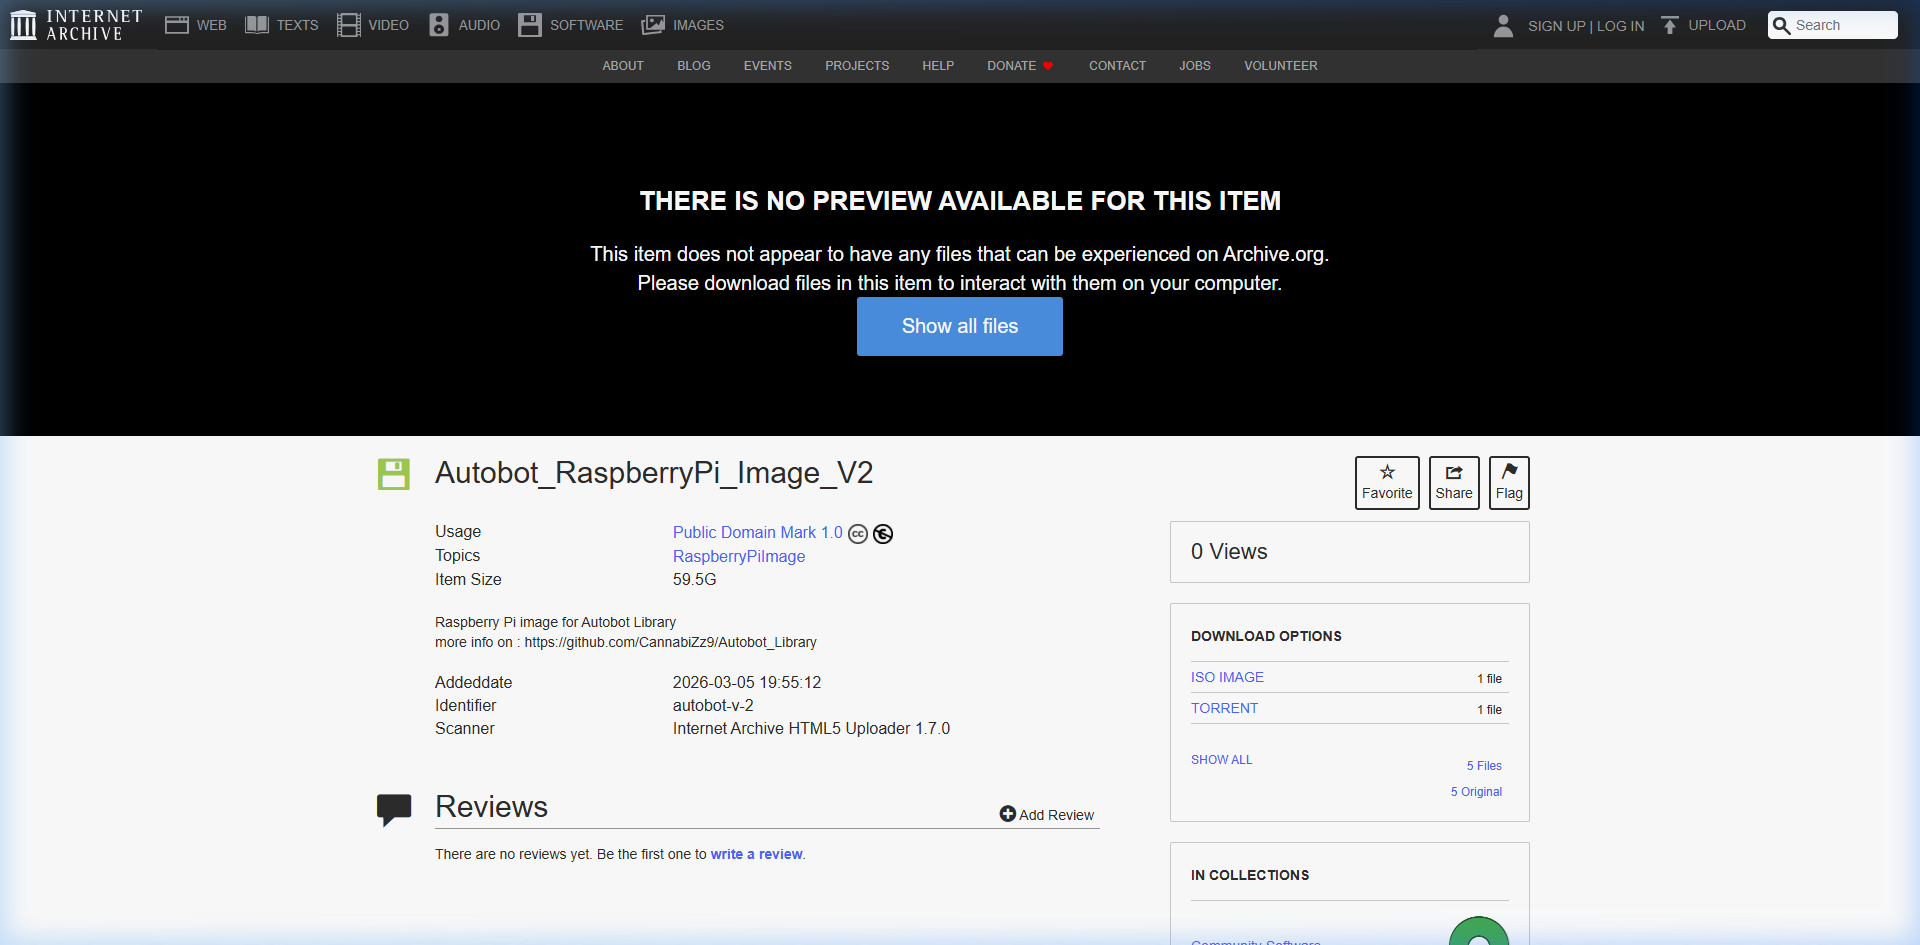
To use the AI features (Human / Line Tracking), flash the pre-configured OS image onto your SD card.
1. Download the image:
Autobot Raspberry Pi Image (.bin)
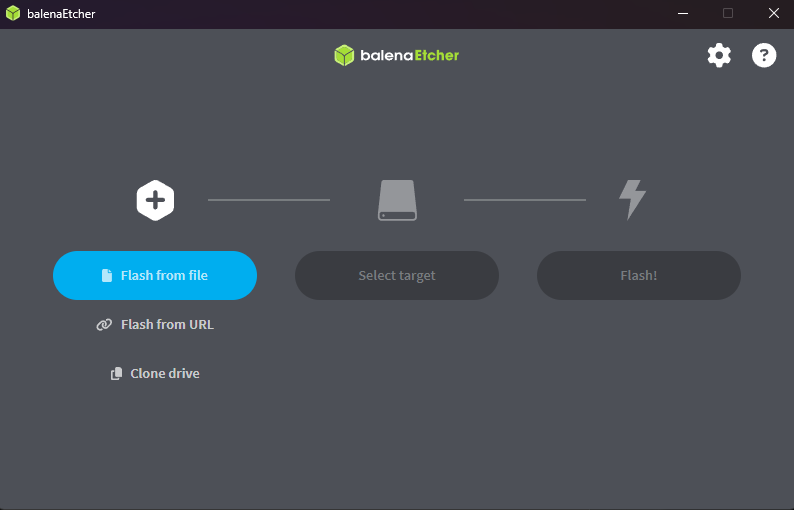
2. Install the flash tool:
Download and install balenaEtcher.
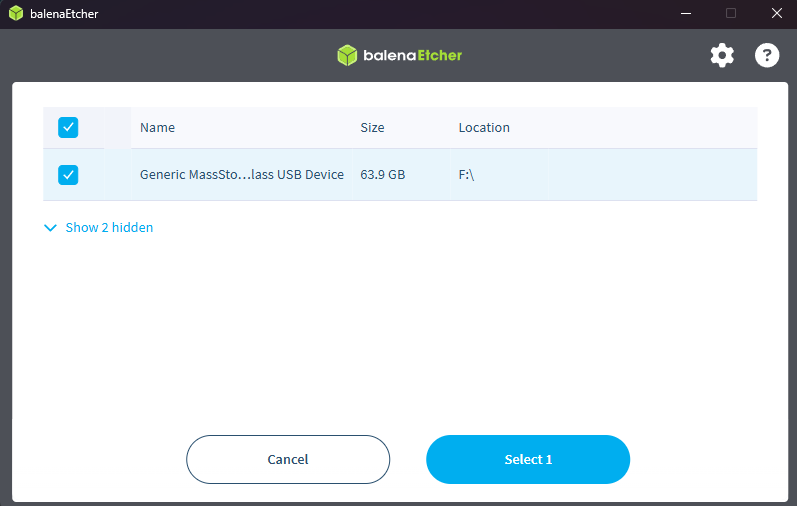
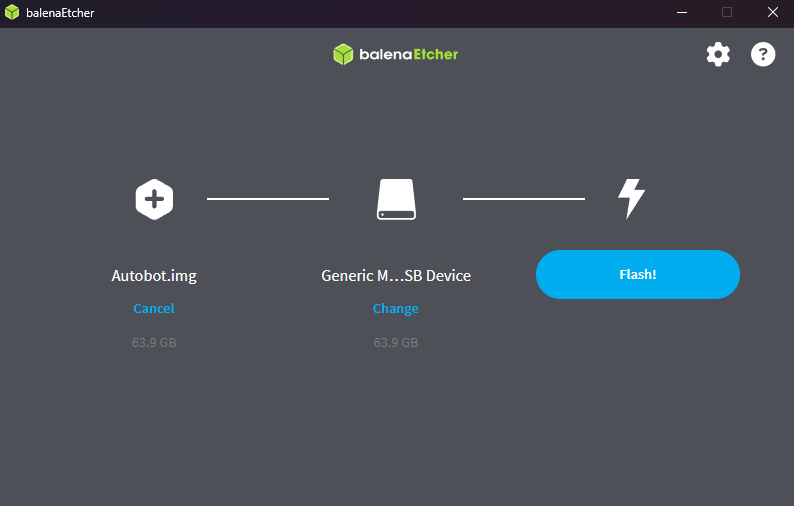
3. Flash the SD card:
Insert your SD card, select the downloaded .bin image, and click Flash!
Wiring Diagram
Connect the ESP32 to the Raspberry Pi GPIO header using the following pinout:
| Signal | ESP32 Pin | Raspberry Pi Pin |
|---|---|---|
| RX | GPIO 16 | GPIO 14 (TXD) |
| TX | GPIO 17 | GPIO 15 (RXD) |
| GND | GND | GND |
Minimal Arduino Sketch
Include the following in your .ino sketch to establish communication with the Raspberry Pi:
#include <AutOBot.h>
#include <AutOBotAI.h>

AutOBot myBot;
AutOBotAI myAI;

void setup() {
  Serial.begin(115200);
  Serial2.begin(115200, SERIAL_8N1, myAI.rx, myAI.tx); // RX, TX for AI comms

  myBot.begin(DRIVE_OMNI_3W, 0);
  myAI.begin(Serial, myBot);

}

void loop() {
  myAI.handle();
}

> For full examples and advanced drive configurations, see the [Examples](/docs/ai/demo) page.

---

## Related Links

- [AutOBot Library (GitHub)](https://github.com/CannabiZz9/Aut-obot_Library)
- [AutOBot-Web (GitHub)](https://github.com/Homxy/AutOBot-Web)
- [Autobot Raspberry Pi Image (Archive.org)](https://archive.org/details/autobot-v-2)
- [🎬 AutOBot YouTube Channel](https://www.youtube.com/channel/UCcS6pYeV3nIloG_VG7k-oeg)